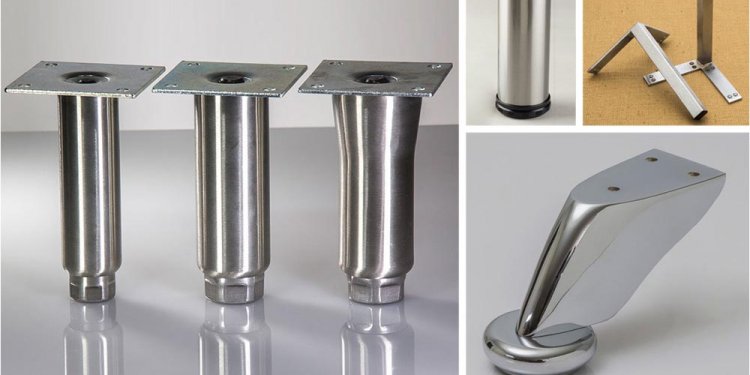
Furniture legs
How to Build a Workbench
My husband and I have been working on converting our guest bedroom into a photography studio/work space for me. I’ve always been drawn to industrial-looking furniture, so building a workbench out of butcher block and piping seemed like the perfect idea for this space. Since I use my chalkboard wall as a backdrop for a lot of my photography, it was important to me that this heavy-duty desk be on casters, so that I could easily move it out of the way when I needed to.
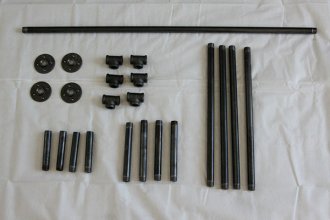
Supplies for this Butcher Block and Pipe Workbench
When I purchased my ¾-in. black piping at The Home Depot, the associates were kind enough to cut and thread all my pieces of piping for free!
Pipe Cut List
- 4 @ 6 in. (one end threaded)
- 4 @ 22½ in. (both ends threaded)
- 4 @ 9 in. (both ends threaded)
- 1 @ 48 in. (both ends threaded)
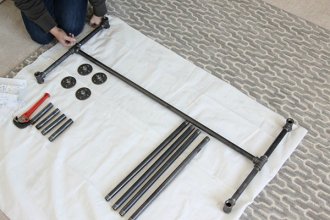 Step 1 – Assemble the Pipe Table Legs
The “thinking and planning” phase of this project was much more complex than actually putting the table together, which went really fast!
First we built the “I” section of the table by screwing two of the tees to the end of our 48-in. pipe.
Next, we attached the 9-in. pipes to either side of the tees.
Finally, we added a tee to the other end of each 9-in. pipe.
The 6 in. pipes, which were only threaded on one side, were added under the “I”, and the 22½ in. pipes were added to the top.
We screwed the four flanges to the top of each 22½ in. pipe.
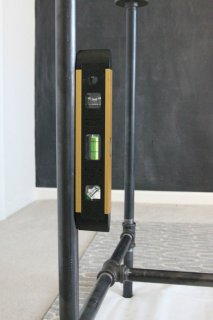
Step 2 – Tighten and Straighten the Pipe Legs
We tightened and straightened the pipes until all were perfectly straight. (Well, as perfectly straight as we could get them!)
Step 3 – Attach the Legs to the Butcher Block Workbench Top
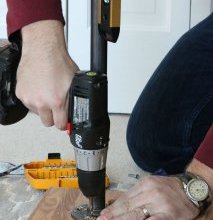
Next, we were ready to screw the butcher block top to the base of the table! We drilled pilot holes first, then drilled the wood screws in. We used wood screws and a cordless drill to do this!
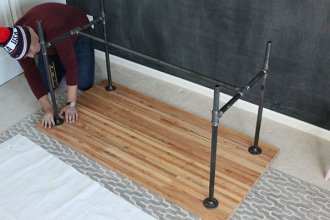
Step 4 – Attach the Casters
Alright, now let’s talk about how we got casters on the bottom of each 6 in. pipe. This required some extra brain power and problem-solving by my dad.
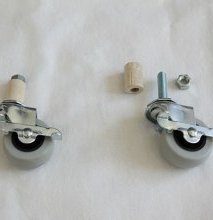
We ended up cutting 1½ in. pieces off of a ¾” wooden dowel rod, then drilled a hole in each piece. I was then able to screw the casters into each piece of dowel rod, and top with a nut.
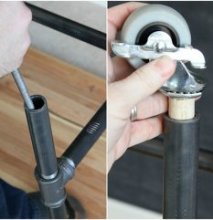
At first, the dowel rod didn’t want to fit into the pipe (this happened because of the way the pipe was cut), so we used a file to file down the inside of each pipe until each dowel rod caster could be pushed in. It worked out perfectly!
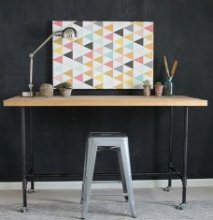
The Completed DIY Butcher Block and Pipe Workbench
And that’s how to build a workbench.
I am thrilled with the way this workbench looks and functions in this space! I have a feeling I’ll never get tired of working on crafts or my photography projects at this workbench!
April Hoff is a mom, wife, teacher, blogger, and photographer with a passion for decorating on a budget! She strives to keep life balanced and organized in a house that gets decorated (and redecorated) by the day! She shares her ideas for DIY projects, decorating, entertaining and photography on her blog House By Hoff.
