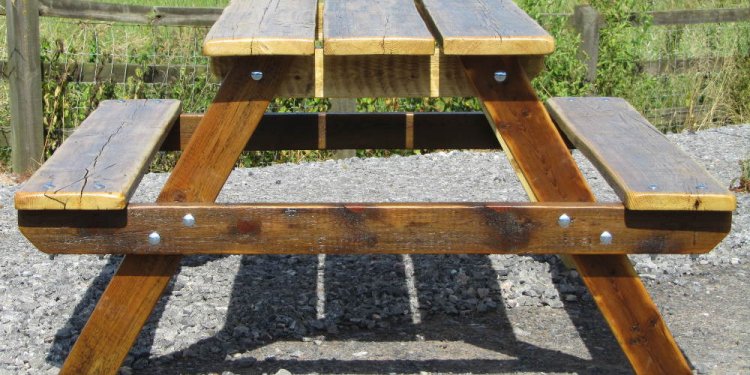
Reclaimed wood Picnic Table
Reclaimed Wood:
Tabletop: Wood of varying widths, enough to cover a tabletop that is 60"x41", accounting for small gaps between each slat. These pieces will all be cut in half, and end up being 1"x any width x 17".
There are also two tabletop end-pieces that are longer. These are listed below, under "Outer Aprons".
Table Structure:
2 Inner Aprons:
(4) 1x4x64 1/2" (long apron pieces)
(4) 1x4x10" (short inner endpieces of the apron)
(4) 2x4x10" (table leg supports)
2 Outer Aprons
(2) 1x4x25" (outer end pieces of the apron)
(2) 1x any width x41" (Long tabletop slats)
[Note: 1x and 2x mean wood that is "one inch" thick and "two inches" thick. However, that is their nominal size. A 1x board is usually around 3/4" thick when measured. 1x boards all used to be one inch, but in order to make them flat, a sawmill had to remove some of the thickness. Generally, when naming the size of a board, the thickness comes first, then the width, then the length, as in 1"x3"x11". The x-es stand for "by", so you would say, "One by three by eleven".]
Salvaged length of gutter or trough: 6 feet. You can also use any old bendy sheet metal if you have it.
Table legs and leg attachment hardware: Throughout our project, we looked for some beautiful old table legs, but weren't able to find any. We bought ours from a hardware store. They were screw-in legs with metal top plates that attached to the table top. They were easy to install, but not as sturdy as we'd like. If we were to go it again, we would come up with an alternative way to attach the legs to keep them removable, but still sturdy.
Hardware:
Screws: a box of 1 1/4" and a box of 2". Make sure your screws are outdoor friendly: I used decking screws.
I used a nail gun with 1 1/2" nails and wood glue to attach the top slats to the tabletop supports. If you don't have that, I recommend using screws and a screw gun.


